Floor 1[]
Sakurajima Depths 1F, fifth room
If one is taking the "To Sakurajima" quest, a cutscene will play in the first room instructing him/her to destroy the rock. Destroy the rock by hitting it 10 times, and then proceed. Keep in mind, however, that bashing rocks takes durability off, so don't use powerful abilities on rocks. Breath of Light is a particularly efficient ability for rocks, often giving 3 hits at the cost of 2 durability.
The second room contains Sunset Stickies and Gama, both of which are familiar enemies. While watching out for the burn attacks and belly slams of the Gama, defeat the enemies to proceed.
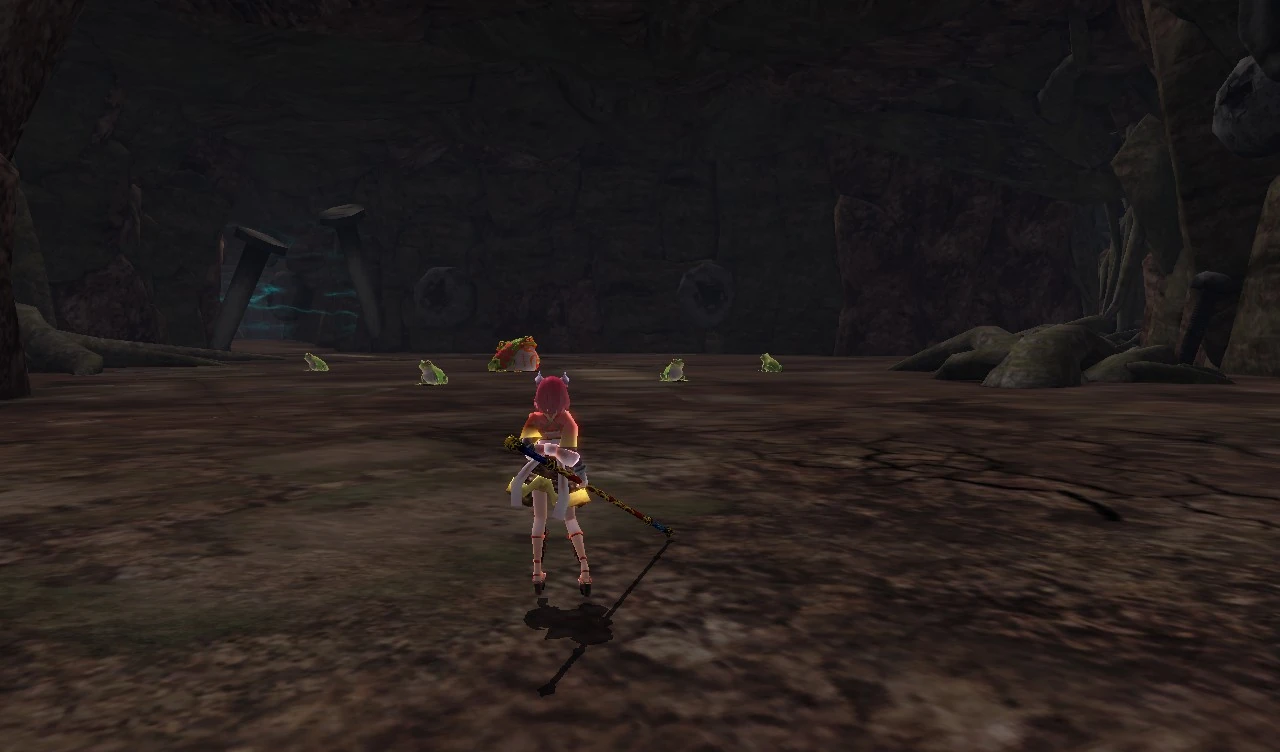
The third room has Kappa and Amagaeru, both being early-game enemies. Destroy these enemies to proceed to a treasure room with six Child Mukade. Depending on whether one has been to the two optional caverns in Oosumi Plains, he/she might or might not have met Child Mukades before. The Child Mukade aren't that hard to kill, but watch out for their poison attack, which is signaled by a leaping motion. Note that they also have a linear burrowing attack that they may use if you are outside of their melee range. The treasure room contains a rock that requires 10 hits to destroy and proceed onwards.
The fourth room contains a Giant Mukade who acts like a normal Mukade except with a bigger hitbox and more HP. Afterwards, Child Mukade may spawn by the next rock if one is in a party. The rock itself takes 30 hits to destroy and the player will proceed after the rock is taken down.
The fifth room is a room of Amagaeru and Gama. The following room after that has Sunset Stickies and Nurikabe. Depending on whether one has been to the Cave of Dreams, Nurikabes may or may not be familiar. Physical attacks do little damage to the Nurikabe, but they fall easily to water and ice-type moves. Take advantage of its slow attacks to land powerful supers on it, and it will sooner or later be defeated. Nurikabes have 3 attacks: they try to fall on top of you, they try to bow and hit you, or they simply try and palm your face in. If you are under their level or are close to their level, these attacks have the potential to either kill you in one blow, or take out a great majority of your health. The key is to wait for them to do one of the 3 attacks then use your strongest skill and then run around it and wait for the next attack. Clearing this room will get the player access to the next floor.
Floor 2[]
The first room has Amagaeru and Sunset Sticky. Defeat those and destroy the rock ahead, which takes 10 hits to destroy.
The second room is guarded by Gama, Kappa, and Nurikabe. To the side is another rock that takes 30 hits to destroy. Getting past said rock will get one into a treasure room guarded by Giant Mukade. Defeat the giant centipede, and then head back out to the main path.
The third room contains Gama and Child Mukade. Defeat those enemies to make the barrier disappear, allowing one to cross the bridge and up the stairs to the next floor.
Bottom Floor[]
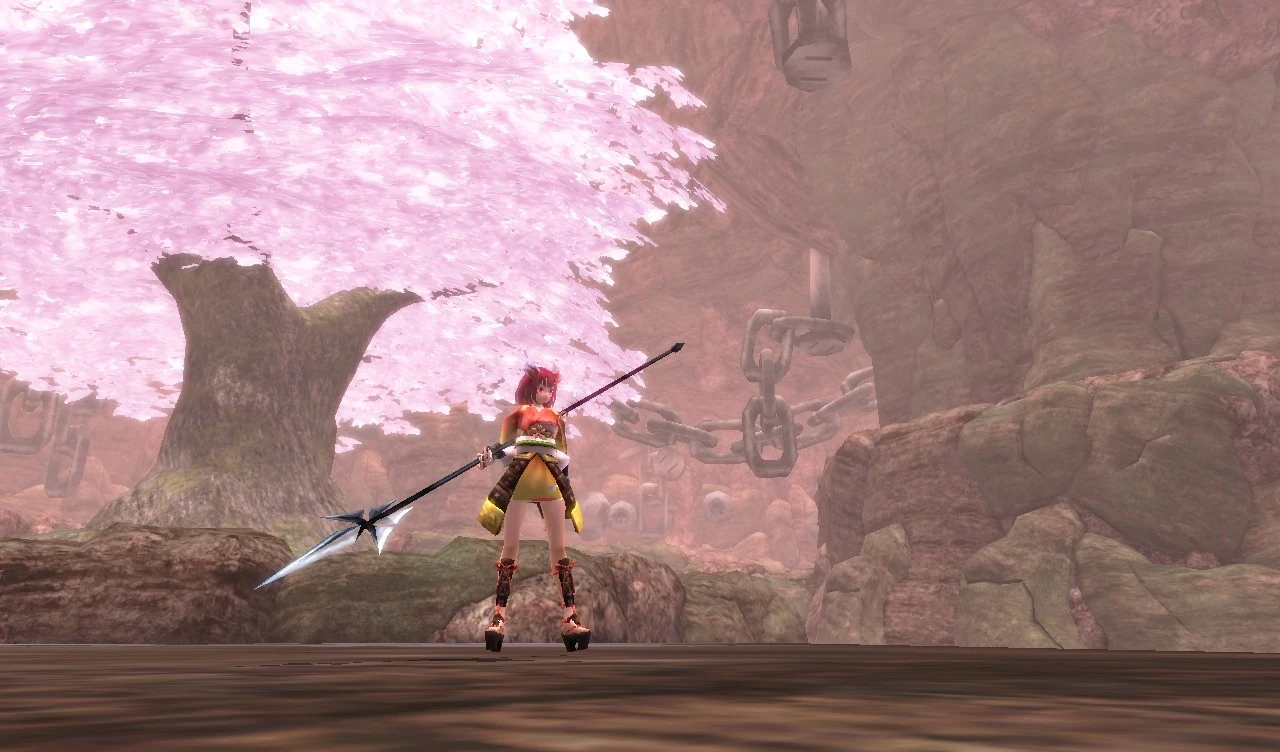
In a nice, open arena with a large sakura tree in the background, there lies Tiamat and just Tiamat, with recognizable music from the tutorial playing again. Prior to the Tiamat fight, a cutscene will play for those taking the "To Sakurajima" quest. Defeating the dragon, will open up a portal to the next floor.
Bottom Floor (Blooming Flower)[]
Sakurajima Depths Bottom: Blooming Flower
One finds him or herself in the same arena as before, but now with pink lighting and Momotarou's special boss theme playing as music. A cutscene will play before the Momotarou fight if one is taking the "To Sakurajima" quest, and Momotarou will become your partner afterwards when said quest is completed. Defeating Momotarou will finish the dungeon and allow the player to return to Sakurajima Cave.
Boss Strategy (Tiamat)[]
This is the dragon previously seen with an unknown name that was harassing Lady Shizuka. However, the boss is no longer simply an "introduction to the game." Underestimating Tiamat, whose moveset has been greatly expanded, is a mistake that many players make. Well, until they get instantly killed.
It is notable that if you try to rush this boss immediately in a party where some members are viewing the cutscene for Tiamat, Tiamat will rush to the spawn point and gracefully stomp and kill those still viewing the cutscene, resulting in a waste of a resurrection. If one is considerate enough, they should wait until the cutscene has finished for the others before engaging with Tiamat.
Tiamat's pattern is based on who has him aggro'd. He is programmed in such a way that he will try his best to stay at mid range, where he is the most annoying. At this range, his favorite attack is to fire off three waves of fireballs, with each wave consisting of an attack from each of his five heads.
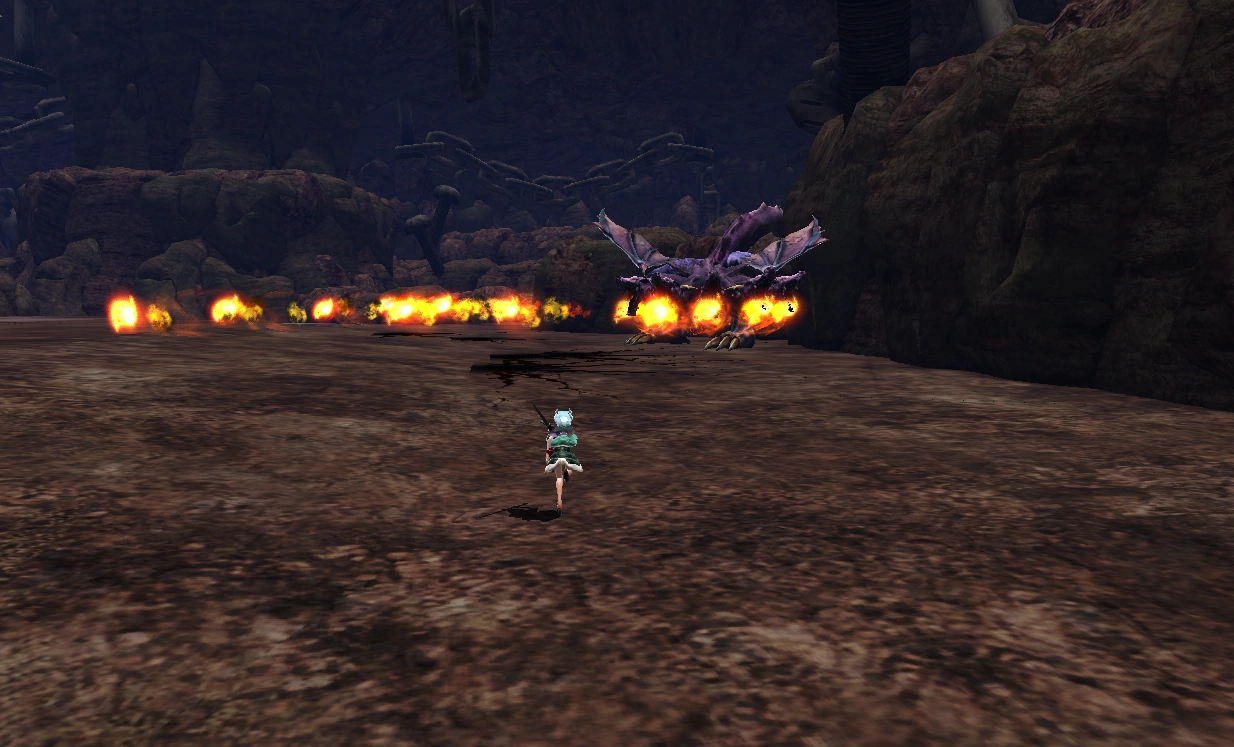
Tiamat's waves of fire
Due to the fact that he rotates in the midst of this attack, players will need to actively move to dodge it, or block the attack. If the player is close enough to Tiamat, they can attack him from the sides. Please note that if you are slightly behind Tiamat's head, he will still hit you with a fireball. The player gets behind the dragon, Tiamat will likely not turn around, but instead, will slap the player with his tail. Be careful, as this hits relatively hard and fast.
Another pattern that is seen in the mid range is when Tiamat will rush at the player, with each stomp doing a moderate tick of damage. This often leads into his close range pattern, which involves jumping into the air and raining fireballs onto the ground, before landing. Note that the fireballs are blockable if they would directly hit you, but if they explode beside you, you will be unable to guard the resulting splash damage. His landing also does damage, but this too is guardable. One way to avoid damage from this combination is to stay directly under him after he jumps, then roll backwards as he lands. His other close ranged attack is much less deadly, as the dragon will bend over and attempt to claw you with his arms. This has a very small hit box, and can be dodged by rolling to the side.
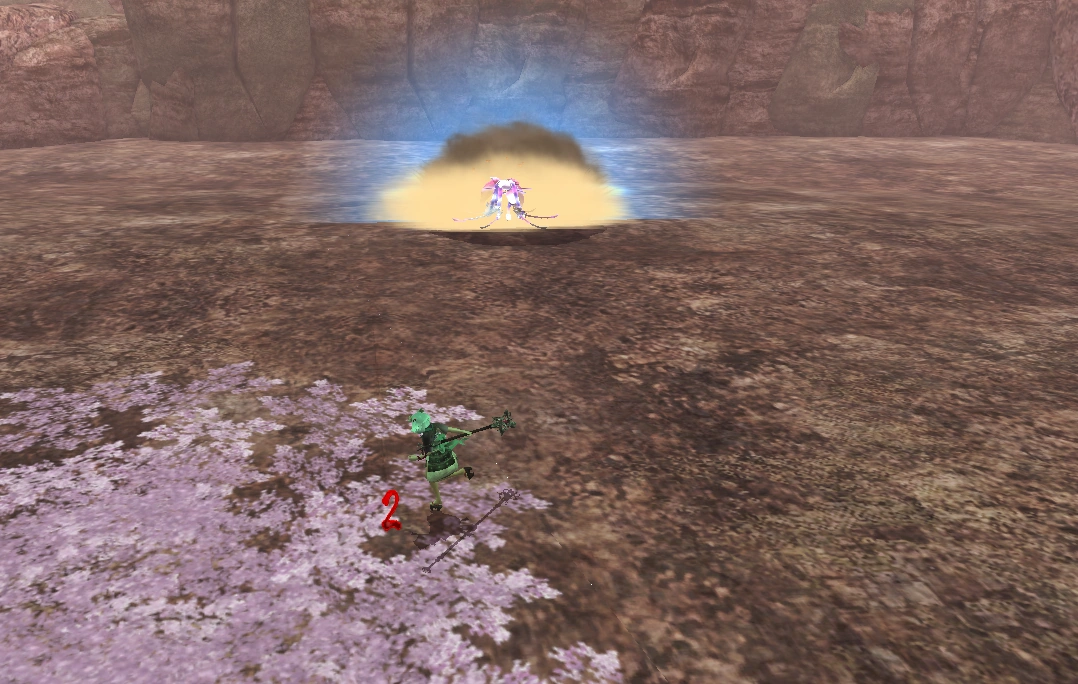
Often times, there will be glowing circles scattered across the map during the boss fight. These are another one of his attacks, and will explode after a few seconds. Avoid these areas, as the explosions do potentially fatal damage.
When under half hp, there is a chance that the boss will jump into the air and rain fireballs... but not come back down. Instead, he will fly around for over ten seconds, spamming his flame breath and raining death upon anyone unfortunate enough to be caught in the path. This attack shares the same properties with his other midair attack, as it is guardable, but the resulting explosions are not. To reiterate, Tiamat is generally most vulnerable at his sides, and attacking him from the right angles is the key to being able to kill him without taking large amounts of damage.
Boss Strategy (Momotarou the Slasher)[]
Fighting Momotarou is like simulating PvP... with an incredibly OP blue void slashes that has infinite sp. Firstly, it's important to note that, relative to other bosses, he has an extremely low health pool. But, don't let that mislead you! Momotarou can still be quite difficult to defeat.
While his initial hits don't seem like they do alot of damage, like a player, he has several spells that can burst you down incredibly quickly. When at mid-range distance, the blue skinned Oni Slayer will often rush at you with his equivalent of lunge slash. Fortunately, the damage on this is relatively low, but its still annoying because he moves too quickly to be easily hit. However, it can be guarded.
After a hit confirm, Momotarou will often follow up with some sort of combo attack. Most of these are weak basic attacks, but the player should keep an eye out for any skills. Momotarou is able to use something somewhat similar to a very flashy version of Twin Blade Slash. This is probably his hardest hitting move, and can instantly kill a player if lead right into by one of Momotarou's combos. The best way to avoid getting killed by this is to be very careful, and keep blocking until Momotarou is finished with one of his combos. To attempt to work around blocking, Momotarou will attempt to poison the player with poison jab. However, this is simply meant to trick you. Compared to letting go of the guard button, the poison ticks are almost negligible.
After a combo, or sometimes a lunge, Momotarou will pause momentarily. This allows the player to either recover hp through the use of potions, or counter attack. Be careful though, there is a chance that Momotarou will attack by firing a Tsurugi-Kaze skill at the player.
More often than not, when Momotarou is low, he will summon a horde of clones. The number of clones depends on the mode that the player is in, with one being summoned in

Tsurugi-Kaze
normal, two in hard, and three in hell. The clones themselves are very easy to kill, and act like a weaker version of Momotarou. But the problem is that after he summons them, Momotarou will spam his Tsurugi-Kaze attack in all directions. When he does this, back off so that its easier to dodge the blades. They do much, much more damage than the clones.
In general, unlike with other slower bosses, its very difficult to run away from Momotarou and maintain that distance, and so, as a result, the best strategies are to rely in your reflexes and dodge, or to guard. Counter attacks should follow from both of these alternatives.
Weapons Found Here[]
|
|
|
|
|